It has never been so easy to implement unforgettable video projects or photo shoots from above – a handy drone, in which a high-resolution camera is integrated, usually already meets the professional requirements. Thanks to the highly developed drone technology, we are spoiled every day with beautiful shots from the air. How does this work? We show how you can catch aesthetic shots for your project and what is really important for drone videos.
Topics in this article
- Here are our 5 basic tips for drone videos
- To set up the drone camera for the video shoot
- How to make your drone video
Here are our 5 basic tips for drone videos:
In principle, the photographic basics remain the same for drone videos, but individual aspects such as setting and timing should be adapted to drone recordings. After all, the demands on the right location are growing for bird’s-eye view shots. Landscape shots can usually be used to capture appealing sequences, but far-sightedness is required here: large areas that are not broken up by construction sites or the like are particularly important for a uniform look, and timing also provides beautiful moments for drone shots. Natural effects such as sunset (1 hour before) and sunrise (1 hour after) make for spectacular shots. What else do you need to know?
1. plan earlier, enjoy later
Draw up a precise schedule and material plan beforehand so that you don’t forget any equipment and know days before the shoot what hurdles you might encounter and how the shoot should proceed. This saves a lot of time on location.
2. use modern features
Many modern drones have automatic flight modes or integrated sensors for obstacle detection – these should also be used to be able to concentrate more on the recording.
3. keep it simple
The flight maneuvers should not be too complicated, especially at the beginning. The probability of an accident is too high here. In addition, even simple and calm manoeuvres provide great pictures!
4. 3D effect
If you are a drone pilot and have some practice, you can achieve very vivid 3D effects by using certain flight movements. Example: Start your drone further away from your focus object, let the drone rotate around the object and move it towards the object at the same time.
5. work in a team
If one pilot takes care of the flying and the other of the pure video recording, even better results can be achieved.
You have read the tips and wonder how to get the drone ready for recording? To what extent technical settings of a drone video differ from other video settings, we will reveal here:
To set up the drone camera for the video shoot
You can make all settings for the video before you start the drone. This saves you flight time.
- Set ISO values as low as possible: preferably to 100, so that the image material does not become too coarse when shooting outdoors.
- Set the frame rate: 25 frames per second is a suitable standard setting.
- Screw the ND filter onto the lens: This is essential for video recordings, as it shields the camera from direct light and prevents the image material from being overexposed.
- Select image profile: Depending on the drone model, there are several options. Decide according to your motif, for example if the video will fly towards a person and circle around them, select the Portrait mode. You are unsure and want to test it first? Then select the automatic mode. The settings here are analogous to those of an SLR camera.

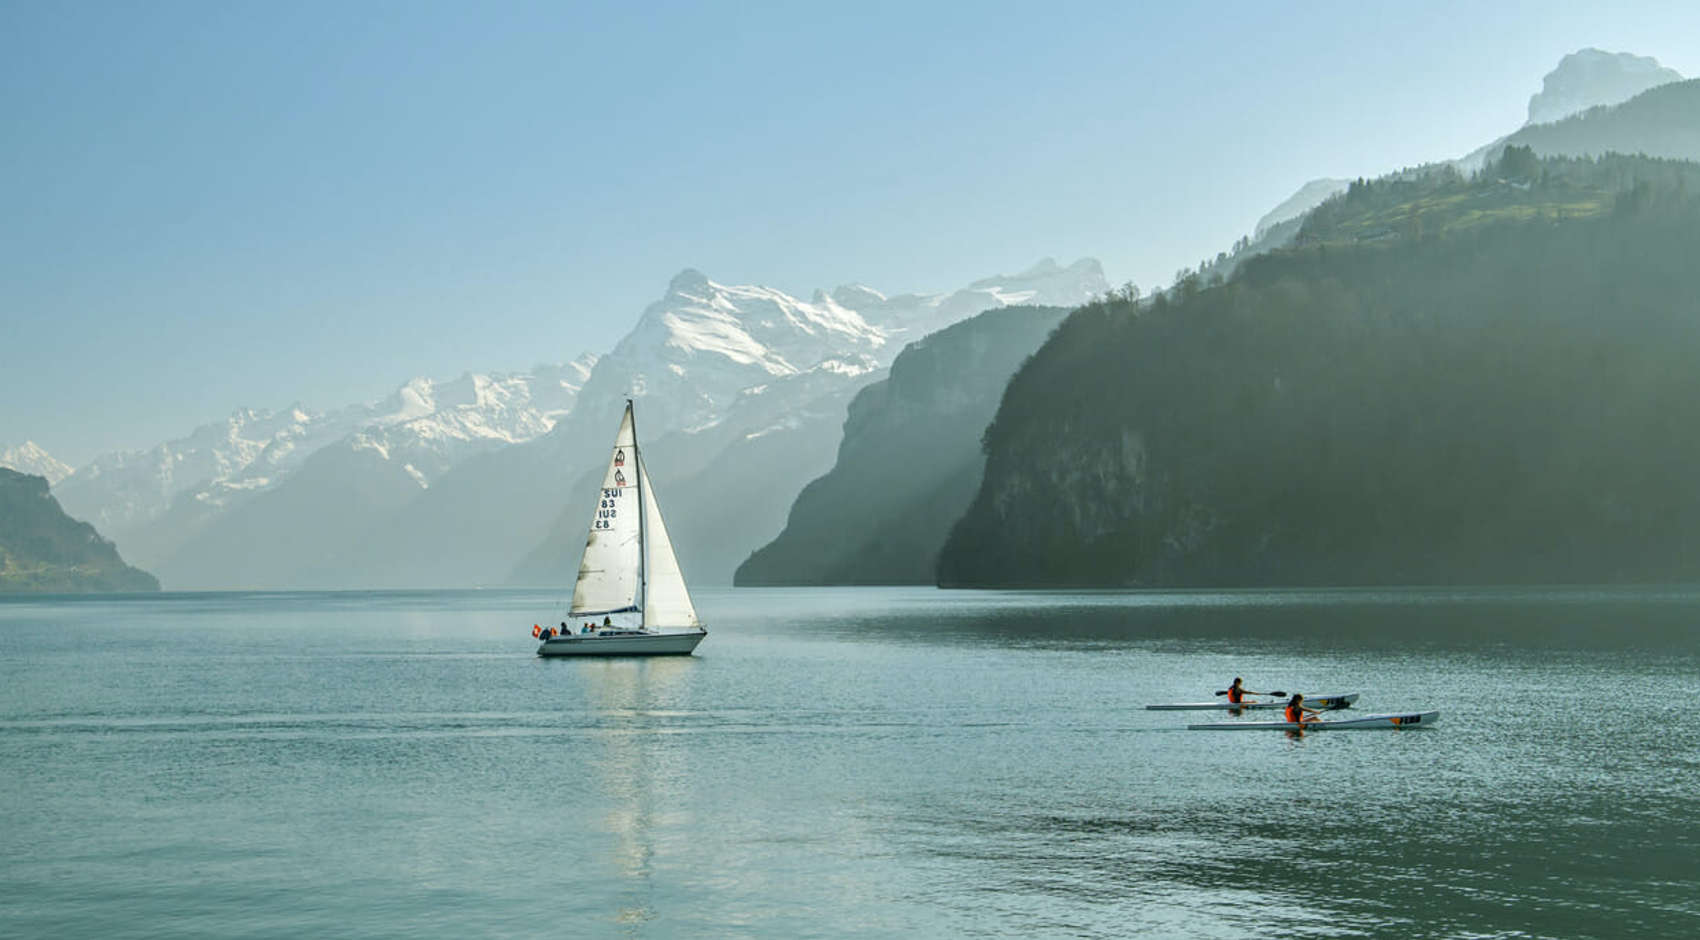
City, country, river – it all depends on the right setting for drone videos. | © istockphoto.com / Michal Stipek
This is how your drone video works:
Settings have been made, preparations made and the drone can take off? Let’s do it:
Take-off and ascent: Place the drone on an open area and level ground and together with the co-pilot put distance between you and the flying object, about five meters is sufficient here. Most drones have this programmed in and will automatically take off after take-off. Here the radius without obstacles pays off, because the drone can’t be controlled in the distance mode after launch and could otherwise collide with other objects nearby.
The drone flight: Steer the drone to the shooting location. Keep an eye on the battery life, because at the end of this time it will automatically land where it is. This can be problematic when taking pictures of the sea, forests or mountains.
Flight path: The frontal sunlight can be made into a desired effect, but of course it should not be a constant. Therefore, it is essential to take the position of the sun into account for the flight path.
Film quiet shots: Drone flights benefit from wide flight curves and smooth handling, so avoid fast changes of direction or hectic courses.
The landing: If the video is in the box or the battery does not hold, the landing is imminent. It is best to return to the starting point, because here you have already tested the open terrain.
You are almost ready for take-off, but would like to learn more about drone technology and the current legal situation? Then click here and read our further article.


